
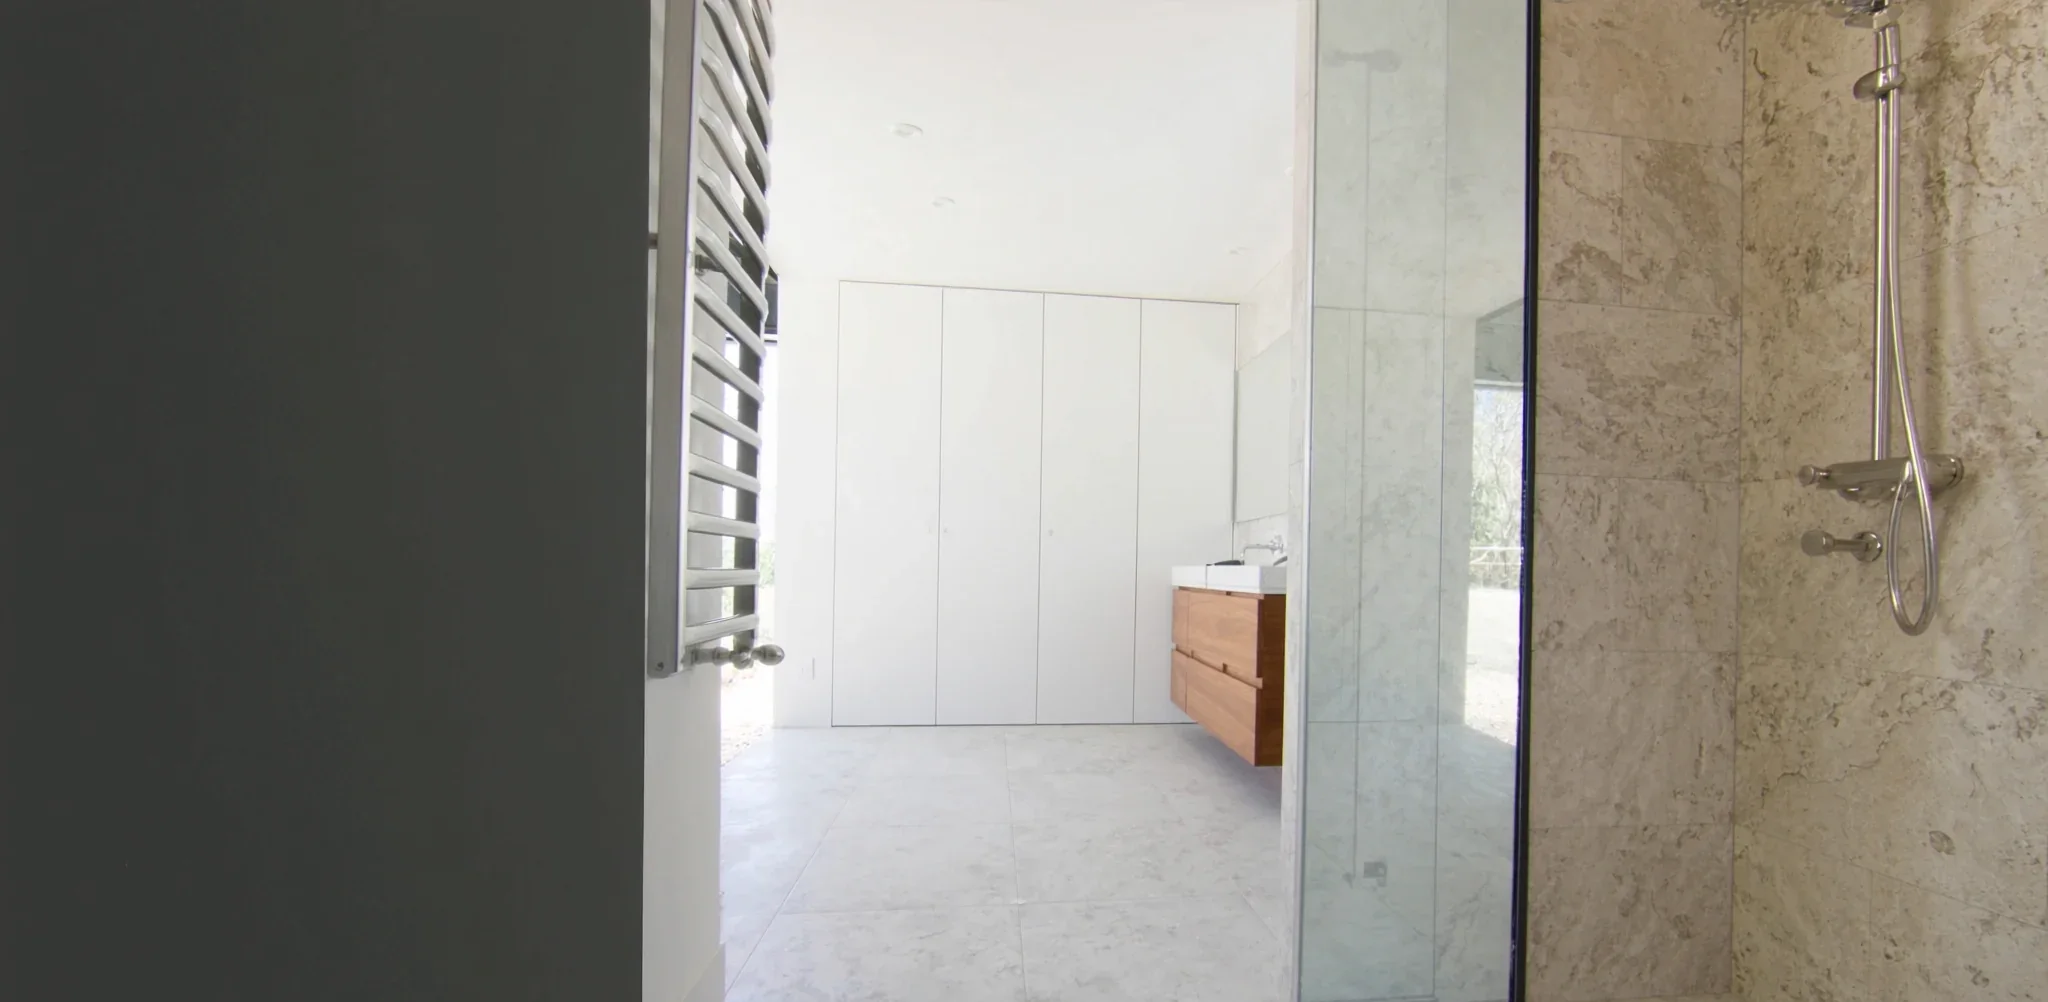
Bathroom Tiling across South Australia
Bathroom tiling covers floors, walls, showers and niches in new bathrooms and renovations. SA Tiling Pro lays tiles over properly prepared and waterproofed substrates so the finished room stays dry, level and easy to clean. We work for homeowners, builders and property managers in Adelaide and across South Australia, with free, no-obligation quotes.
- Strip-out and substrate preparation
- Wet area waterproofing
- Screeds and falls to waste
- Floor and wall tiling
- Shower niches and hobs
Bathroom Tiling done properly
Bathroom tiling is more than laying tiles on a wall. The job starts with stripping out old finishes, checking the floor and wall substrates, and setting falls to the floor waste. Hobs and niches are formed, showers are waterproofed, and the layout is planned so cuts land where they are least visible. Only then do the tiles go down, followed by grouting, silicone to internal corners and junctions, and a final clean. Each stage depends on the one before it.
Good bathroom tiling is easy to spot. Floor tiles fall evenly to the waste with no ponding after a shower. Grout lines are straight and consistent, and they line up across the floor and wall junction. Wall tiles sit flat with no lippage at the edges. Cuts around taps, wastes and the toilet pan collar are neat and covered by fittings. Internal corners and the bath or vanity junction are finished with a flexible sealant, not rigid grout, so movement does not crack the joint.
Preparation decides how long the bathroom lasts. Tiles and grout are not waterproof on their own, so wet areas need a membrane installed to AS 3740 and cured before tiling starts. Substrates must be sound, clean and flat: a concrete slab, a screed or cement sheet over a timber floor. Movement joints go where AS 3958.1 calls for them. Layout is set out from a key sight line so the tiles read evenly. Skipping any of this shows up as drummy tiles, cracked grout or a leak.
What's included
- Strip-out and substrate preparation
We remove old tiles, adhesive and damaged sheeting, then check the floor and walls for level, soundness and moisture before any new work starts.
- Wet area waterproofing
Showers, floors and wall junctions are waterproofed to AS 3740 with a compatible membrane and bond breakers, then left to cure before tiling begins.
- Screeds and falls to waste
Shower and bathroom floors are screeded so water drains to the waste without ponding, including linear and centre wastes.
- Floor and wall tiling
Full-height walls, half-height walls, floors and skirting tiles, laid on the adhesive suited to the tile and substrate.
- Shower niches and hobs
Recessed niches, hobs and bath surrounds are formed, waterproofed and tiled with mitred or trimmed edges.
- Feature walls and mosaics
Feature tiles behind the vanity or in the shower, and mosaic floors or bands set on mesh and laid to falls.
- Grouting and silicone
Cement or epoxy grout to suit the tile, with mould-resistant silicone at all internal corners and around the bath, vanity and shower screen.
- Tile repairs and regrouting
Replacement of cracked or drummy tiles, removal of failed grout, and regrouting of existing bathrooms that are otherwise sound.
How we approach bathroom tiling
- 01
Site visit and quote
We measure the bathroom, look at the existing substrate and plumbing, and talk through tile choices and layout. You receive a free, no-obligation written quote.
- 02
Strip-out and preparation
Old tiles and finishes are removed, the substrate is checked and repaired, and any screeding or sheeting is done so surfaces are sound and flat.
- 03
Waterproofing and curing
The wet area membrane goes on to AS 3740 and is left to cure for the manufacturer's required time before tiling starts.
- 04
Tiling and grouting
Tiles are set out, cut and laid, then grouted once the adhesive has set. Silicone goes into all internal corners and junctions.
- 05
Clean and handover
The bathroom is cleaned, grout haze removed, and we walk through the finished work with you before the plumber refits the fixtures.
Tile options we work with
Not sure what to choose? We will talk you through what suits the space, the budget and the way it will be used.
Porcelain
Dense, low-absorption and hard-wearing, porcelain suits bathroom floors and showers. Choose a matt or textured finish for wet floors and check the slip rating against AS 4586.
Ceramic
Lighter and easier to cut than porcelain, ceramic is a sound choice for walls. It is softer and more absorbent than porcelain, so check a ceramic tile is rated for floors before using it on a bathroom floor.
Natural stone
Marble, travertine and limestone look good but are porous. They need sealing before grouting, sealing again after, and pH-neutral cleaners for ongoing care.
Mosaics
Small-format mosaics on mesh handle falls to a shower waste well and give grip underfoot. They use more grout, so grout choice and sealing matter.
Large format tiles
Tiles 600 mm and larger cut down on grout lines but demand a very flat substrate and full adhesive coverage. They are less forgiving of falls in small showers.
Terrazzo-look and patterned porcelain
Printed porcelain gives the look of terrazzo, stone or encaustic tile without the upkeep. Pattern repeats need to be mixed as they are laid so the floor does not look tiled in blocks.
Bathroom Tiling questions
Straight answers to the questions we hear most about this service.
How long does bathroom tiling take?
What affects the cost of bathroom tiling?
Do I need waterproofing before tiling a bathroom?
Which tiles are best for a bathroom floor?
What grout should I use and how do I look after it?
Do I need council approval to retile a bathroom?
Bathroom Tiling anywhere in South Australia
Choose your region to find your suburb page and local details.
- Adelaide City & North Adelaide
- Adelaide Western Suburbs
- Adelaide Inner South
- Adelaide Eastern Suburbs
- Adelaide Inner North
- Adelaide North-Eastern Suburbs
- Adelaide Northern Suburbs & Adelaide Plains
- Adelaide Hills
- Adelaide Southern Suburbs & McLaren Vale
- Fleurieu Peninsula
- Kangaroo Island
- Murraylands, Mallee & Coorong
- Riverland
- Barossa Valley & Light
- Clare Valley & Mid North
- Port Pirie & Southern Flinders Ranges
- Yorke Peninsula & Copper Coast
- Eyre Peninsula & Whyalla
- Limestone Coast & South East
- Port Augusta & Flinders Ranges
- Outback & Far North
- APY Lands
Ready to talk about bathroom tiling?
Get a free, no-obligation quote. We service every suburb and town in South Australia and are ready to bring your plans to life.